Introduction to Clickable
The source code is the DNA of an application. It includes a series of instructions that when executed allow multiple functions to be performed. For example, when we open a web browser like Firefox, the source code tells you how to download a web page or how to display it. In order for these instructions, which are defined in a text file, to be executed in an application, they must be compiled. With the compilation, the instructions are translated into machine code that can be executed directly by the computer. The machine code varies depending on the processor running the application. We can therefore distinguish various architectures. On the desktop we have i386 / AMD64. With mobile devices we have, in most cases, ARM architecture. To do the whole process we will use Clickable.
We have seen that the compiler translates the source code into machine code. A compiler running on a computer will generate an application with the same architecture. You cannot directly generate an application for another architecture such as ARM. Under these conditions, how can we compile an application for ARM if we use a desktop computer? The solution lies in the use of containers. For practical purposes, the container allows applications of another architecture to be run on the computer.
Therefore, we will have a container with all the necessary tools to compile an application. We will pass you the source code and it will generate an application prepared for the ARM architecture. The next step is to pass that application to Ubuntu Touch and use it.
Clickable
There are many ways to create a container for cross-compiling (compiling an application from another architecture on the desktop). Canonical had it integrated into the Ubuntu Touch SDK. Since that SDK is no longer supported, the way to work now is to use Clickable. If you want to program an application for Ubuntu Touch you have to use this tool. It is the one that has official support and receives updates with bug fixes and new features.
Next we will see how to create an application with Clickable as well as compile the typical “Hello world”. Initially we will see the steps in console. Later we will see how to integrate Clickable with the programming environment (Qt). The only requirement is to have GNU / Linux on the computer. It can be run on a real machine or in a virtual machine. You have all the links with the information of the chapter in the References section.
There are several ways to install Clickable. I will take the recommended form as a basis.
Dependencies
The container that is used with Clickable is docker. As auxiliary tools we have Git and Python. After installing docker it is recommended to restart the computer.
$ sudo apt install docker.io adb git python3 python3-pip
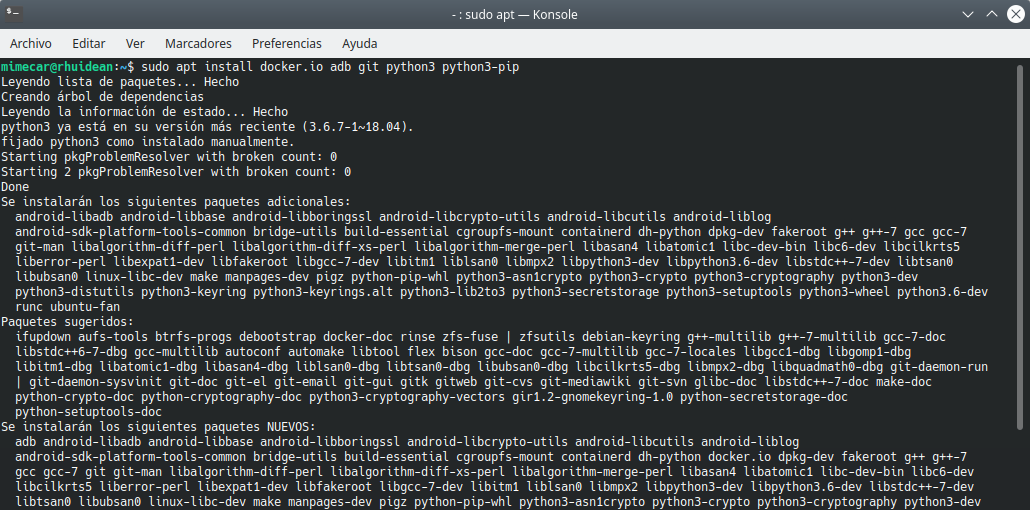 Clickable dependencies
PIP is a Python tool that allows you to easily install Python modules. It is important to use the command with python3, if we do not use the same name we can install the version of Python by mistake.
$ pip3 install --user --upgrade clickable-ut
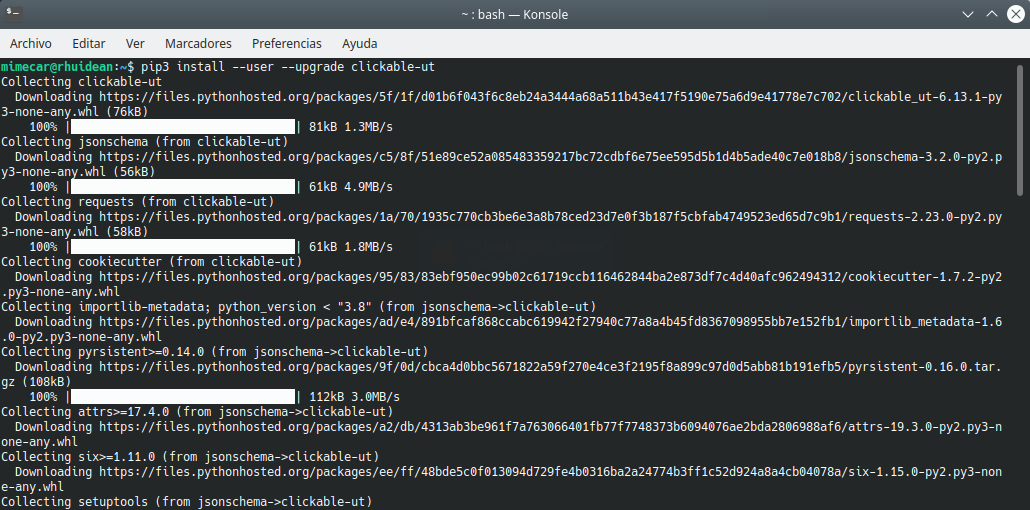 PIP dependencies
Finally we update the path. You need to close the console and open it again for the new path to be used.
$ echo PATH = $ PATH: ~ / .local / bin >> ~ / .bashrc
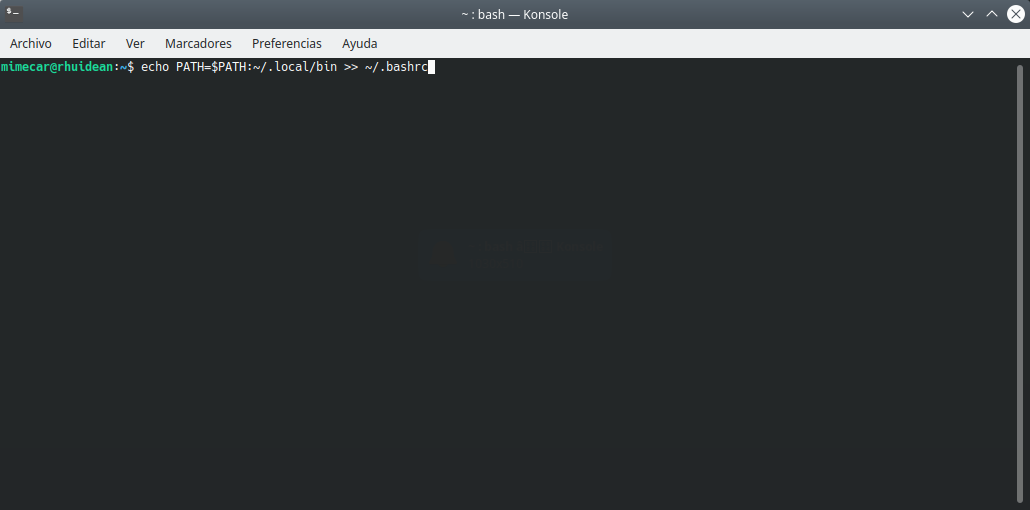 Updating the path to use Clickable
With these steps we already have everything ready to start working. It is possible to use nightly versions (they are daily compilations) of Clickable. Although it may have more functions than the stable version, it may also have errors. For development I recommend you always use the stable version. You will save a lot of time.
Creation of the first application
Before starting, I recommend creating a folder for the application. It is important that the route does not have spaces. For example, if you are going to program applications a possible route would be ~/Documents/Course_Qt/Clickable . We create the route and open a console. You have to go to that folder using the command cd.
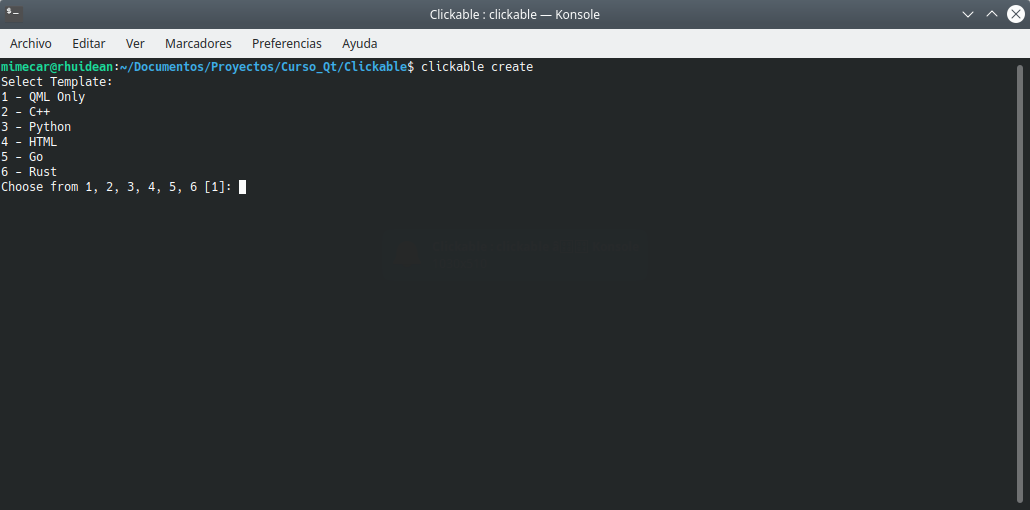
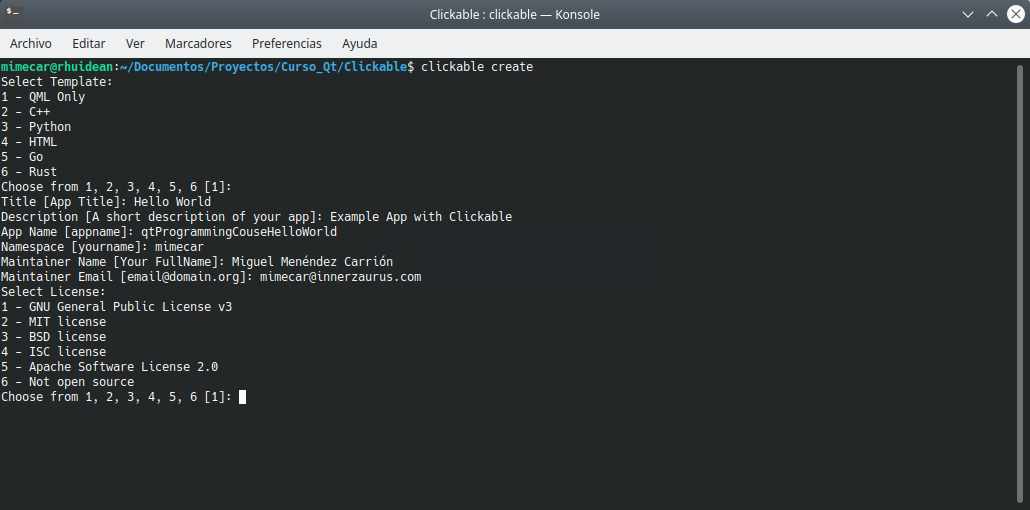
We start the wizard with the command: clickable create. Then we can choose the template we want to use. We select the first option. The options are:
- QML Only: QML + JavaScript
- C ++
- Python
- HTML5
- Go
- Rust
 Clickable templates
The next step is to fill in the basic information of the application.
 Application data
Then we choose the license. By default, the GPL 3 license is used. We leave the rest of the questions with the default values.
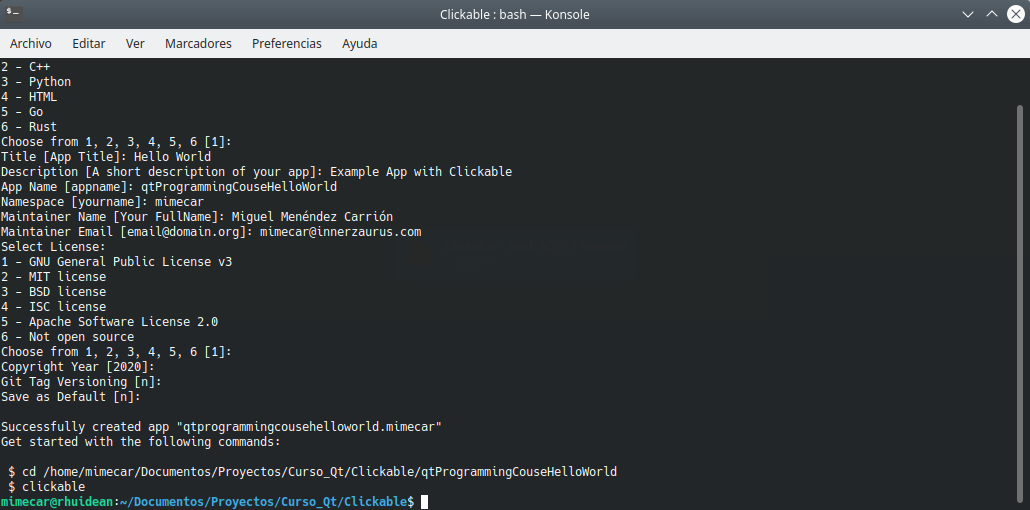 Wizard Summary
If we open the project folder, we will see the structure that the wizard has created.
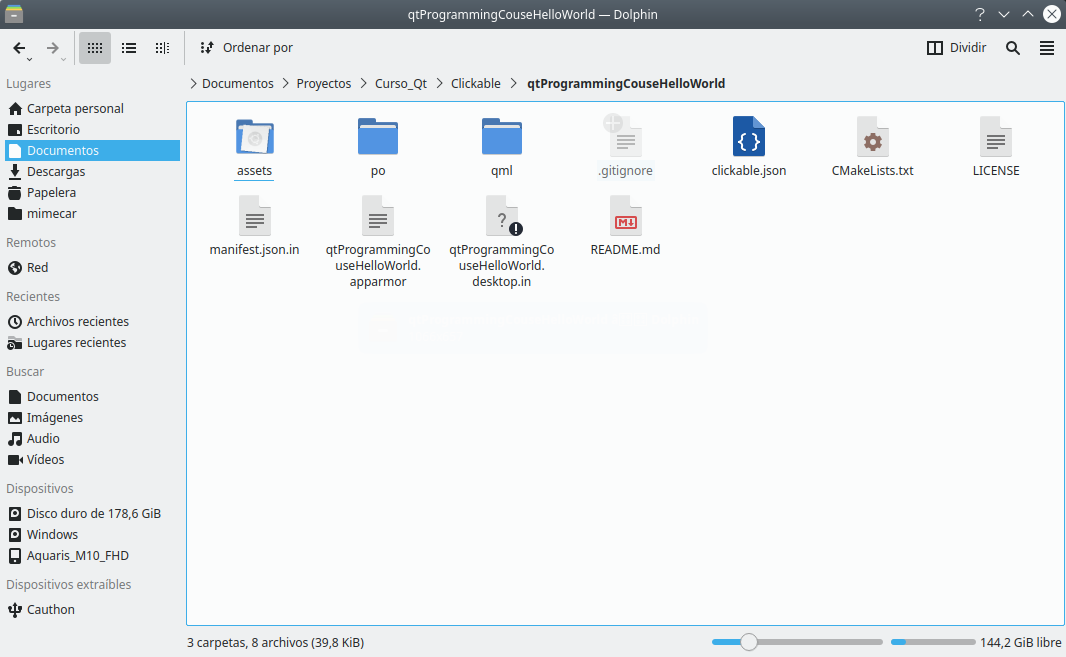 Files in the project folder
Run the application on the desktop
To run the application on the desktop we enter the folder that has been created and run the command: clickable desktop. The first time the container is initialized. It is normal to ask for administrator permissions. If you get the message, you have to run clickable update and then clickable desktop . The message may continue to appear. If that happens, check that the name has no spaces.
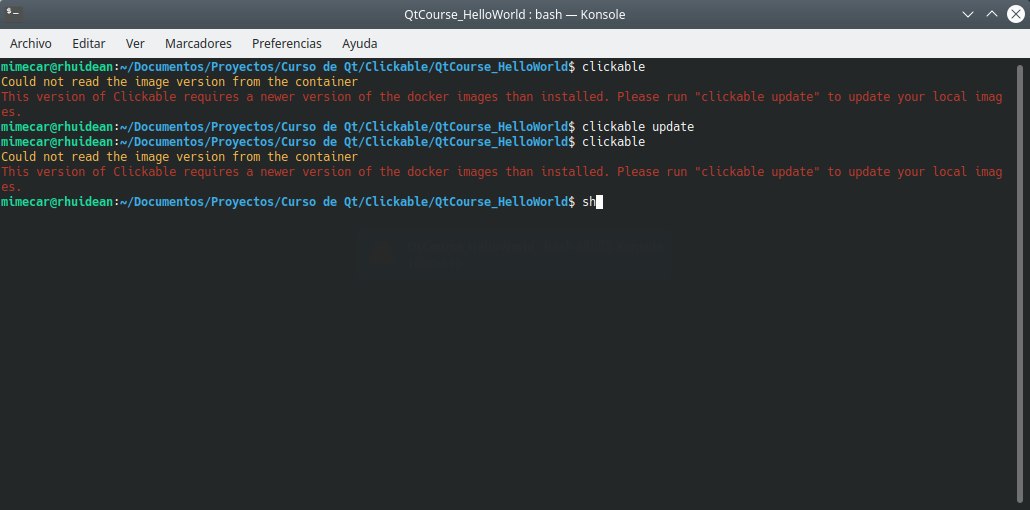 Container error
All the elements necessary to compile the application will be downloaded.
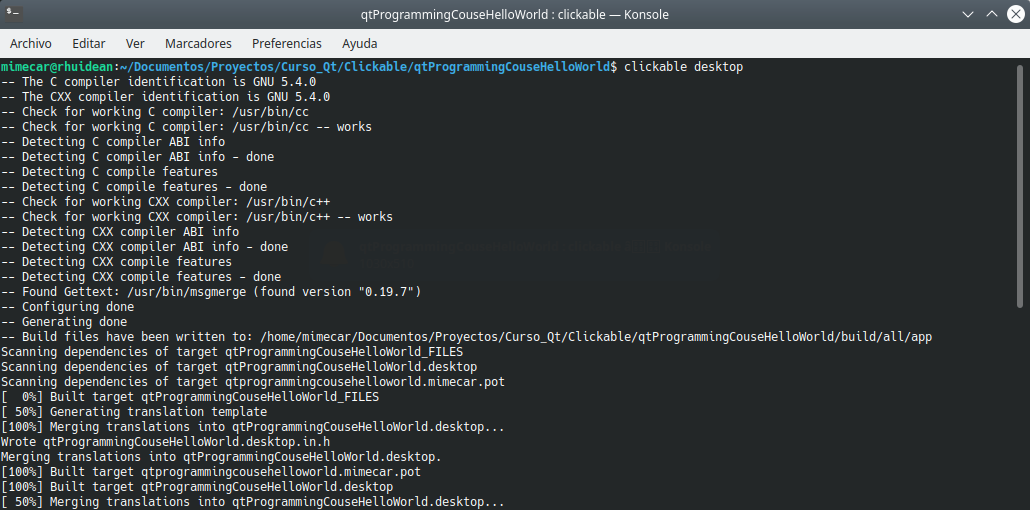 Starting the desktop build
After a good cup of coffee …
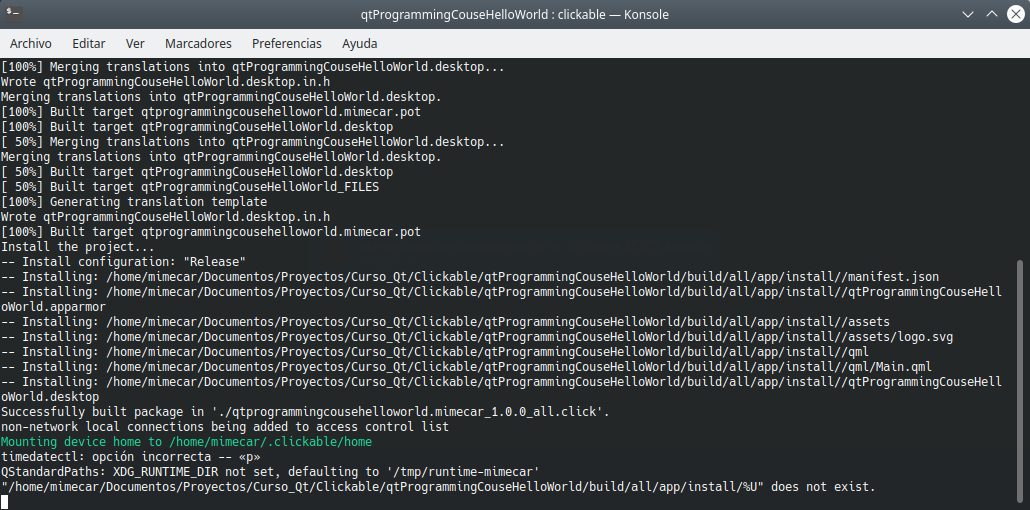 Compilation of the completed desktop application
The sample application will appear when the process is complete.
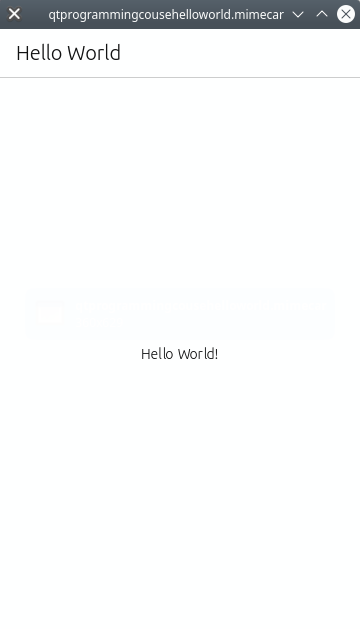 Hello world example
Run the app on the tablet
The steps are the same as before, the difference is the command we use. To compile for Ubuntu Touch just type clickable. The command launches the application directly in Ubuntu Touch. At this point we have to have the device connected to the computer and enable the development options.
For an M10 FHD with Ubuntu Touch (OTA-12), the steps would be:
- We enter About …
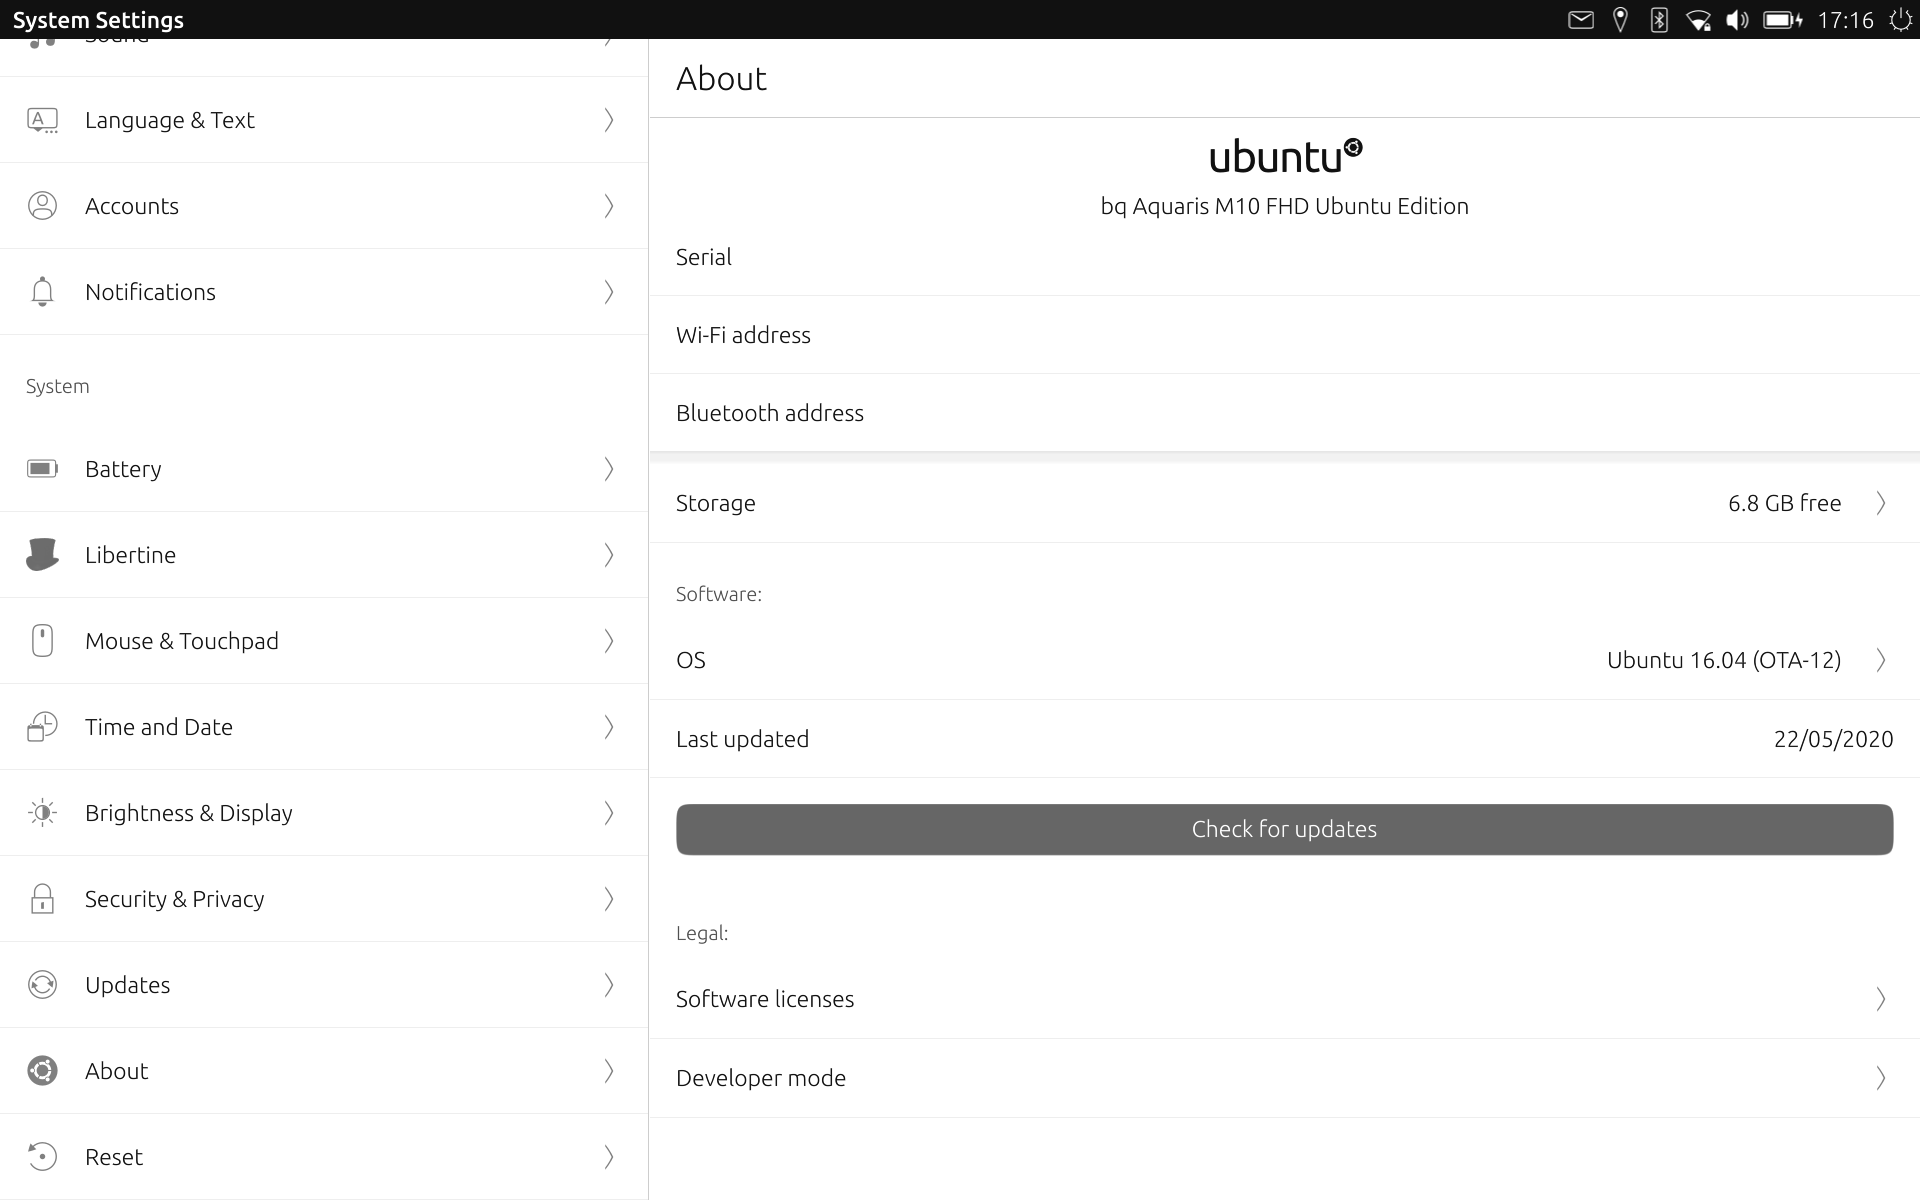 About
About
- Development options.
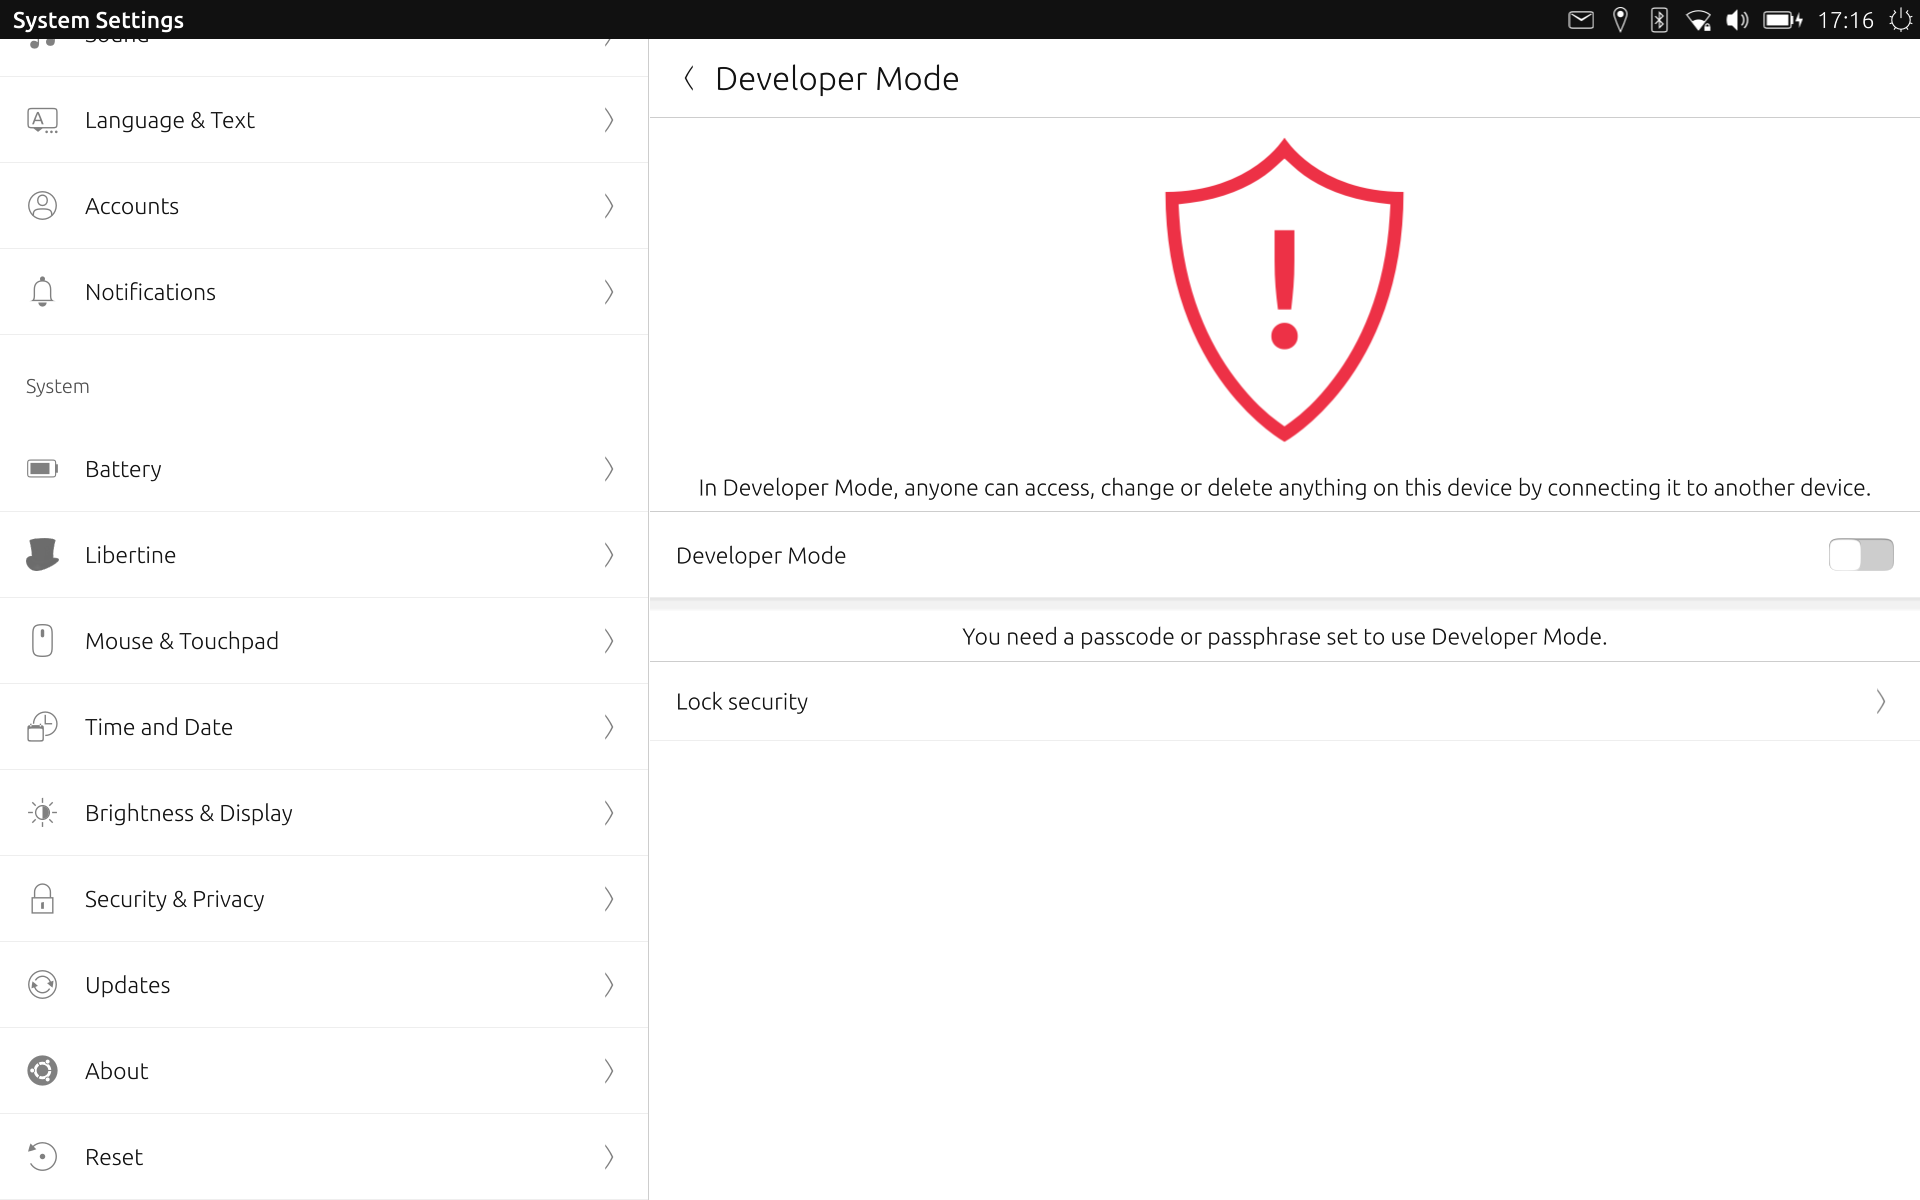 Development options
- We activate the development options (we will have to have a password to access the tablet). A connection request notice has to come out.
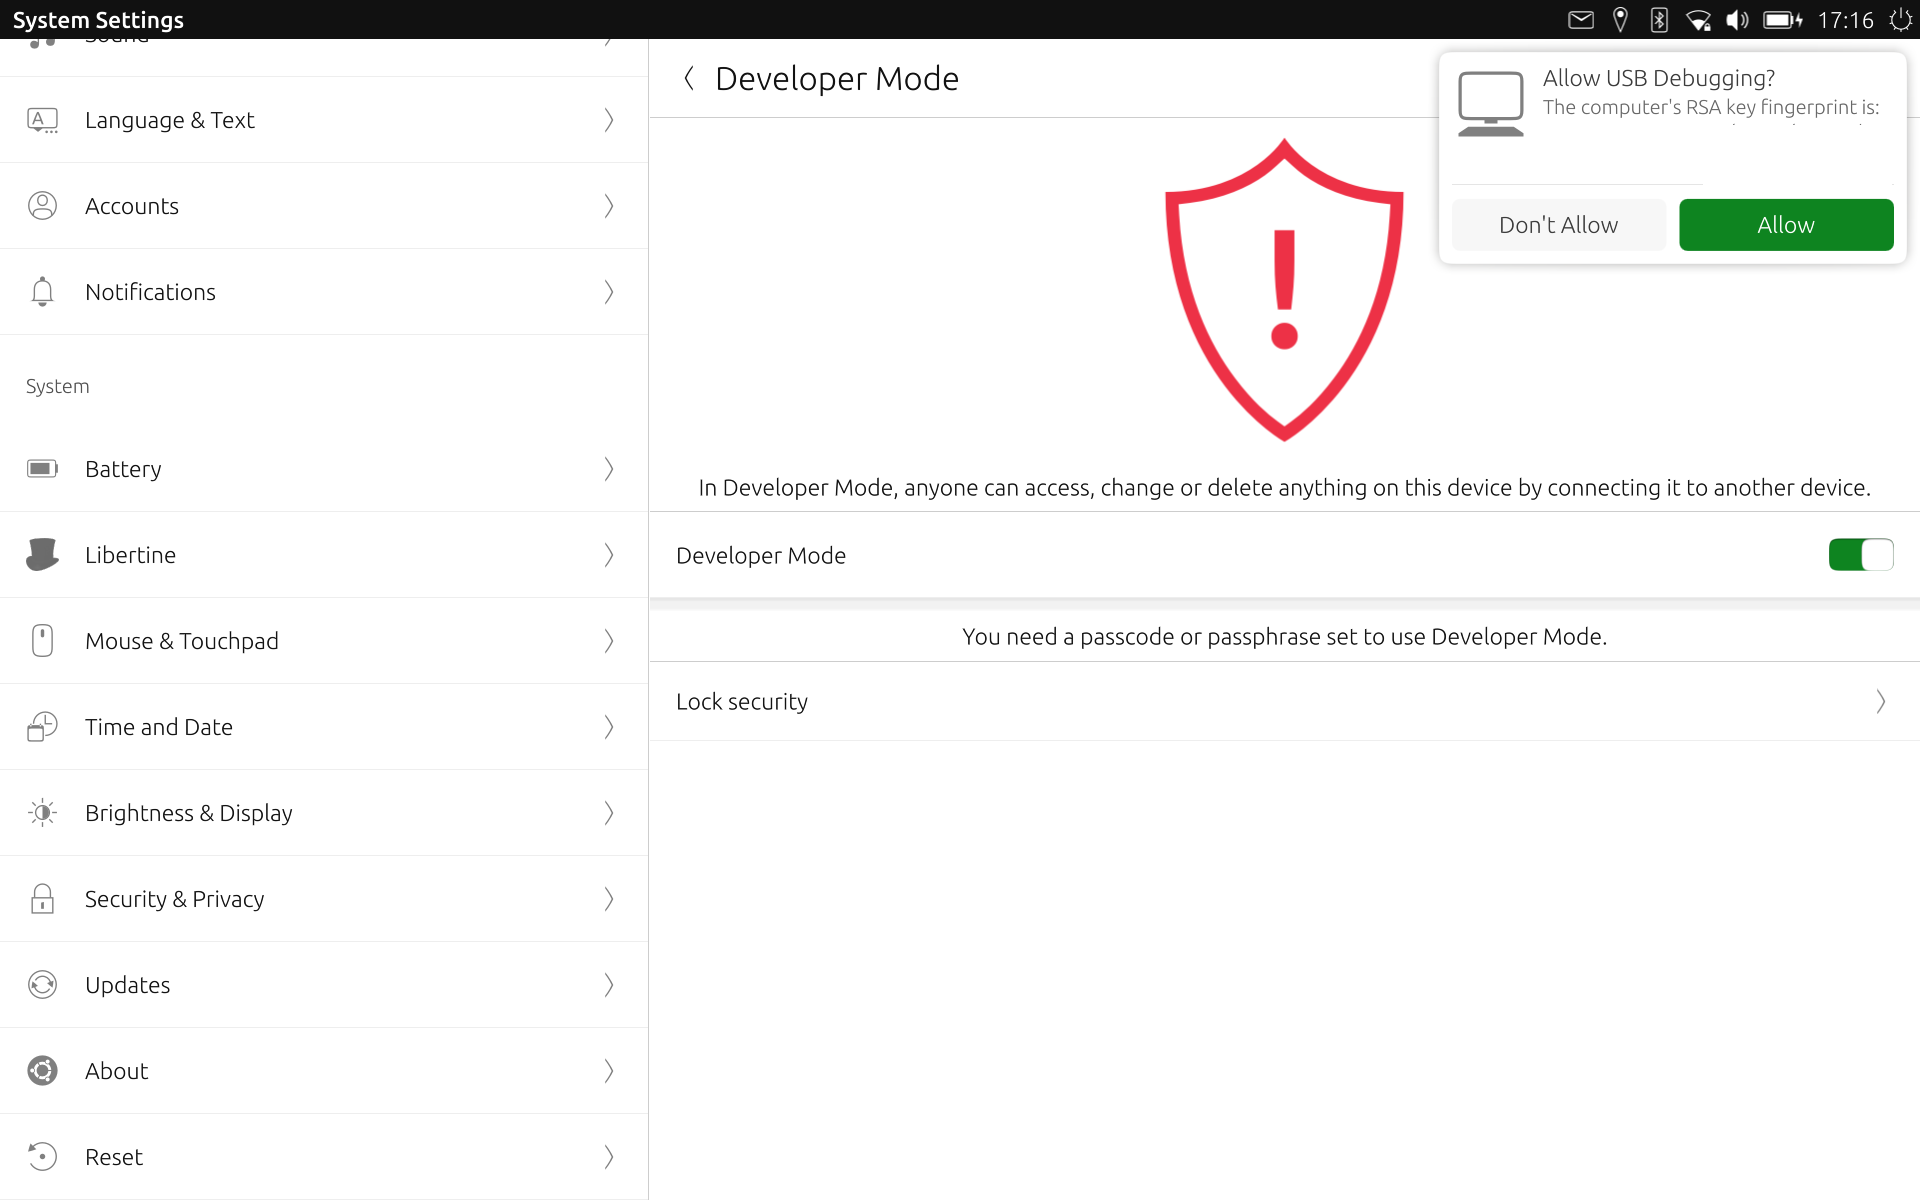 Connection from PC
When everything is configured, we launch clickable and the application will appear on the device.
 Demo on Ubuntu Touch
Conclusions
In this section we have seen the basic concepts to use Clickable from the console. An important detail is that we do not depend on the Ubuntu Touch SDK. For this reason it should work on current desktop distributions. It may be that some package is called different but if we install Clickable using PIP, it should work without problems. There are many things to see in Clickable. To make it more friendly we will see them little by little.
Clickable can be integrated with Qt Creator (the version that is in the distribution repositories). In the next installment we will see how to do it and on that basis the rest of the course deliveries will be developed. The revised chapters will not depend on the virtual machine and will be easier to follow.
Credits
- Writer: Miguel Menéndez Carrión
- English translator: Milan Korecky
- English translator: lionelb